Firmware key extraction by gaining EL3
published on Tue 07 June 2022 by Xilokar

A bit of history
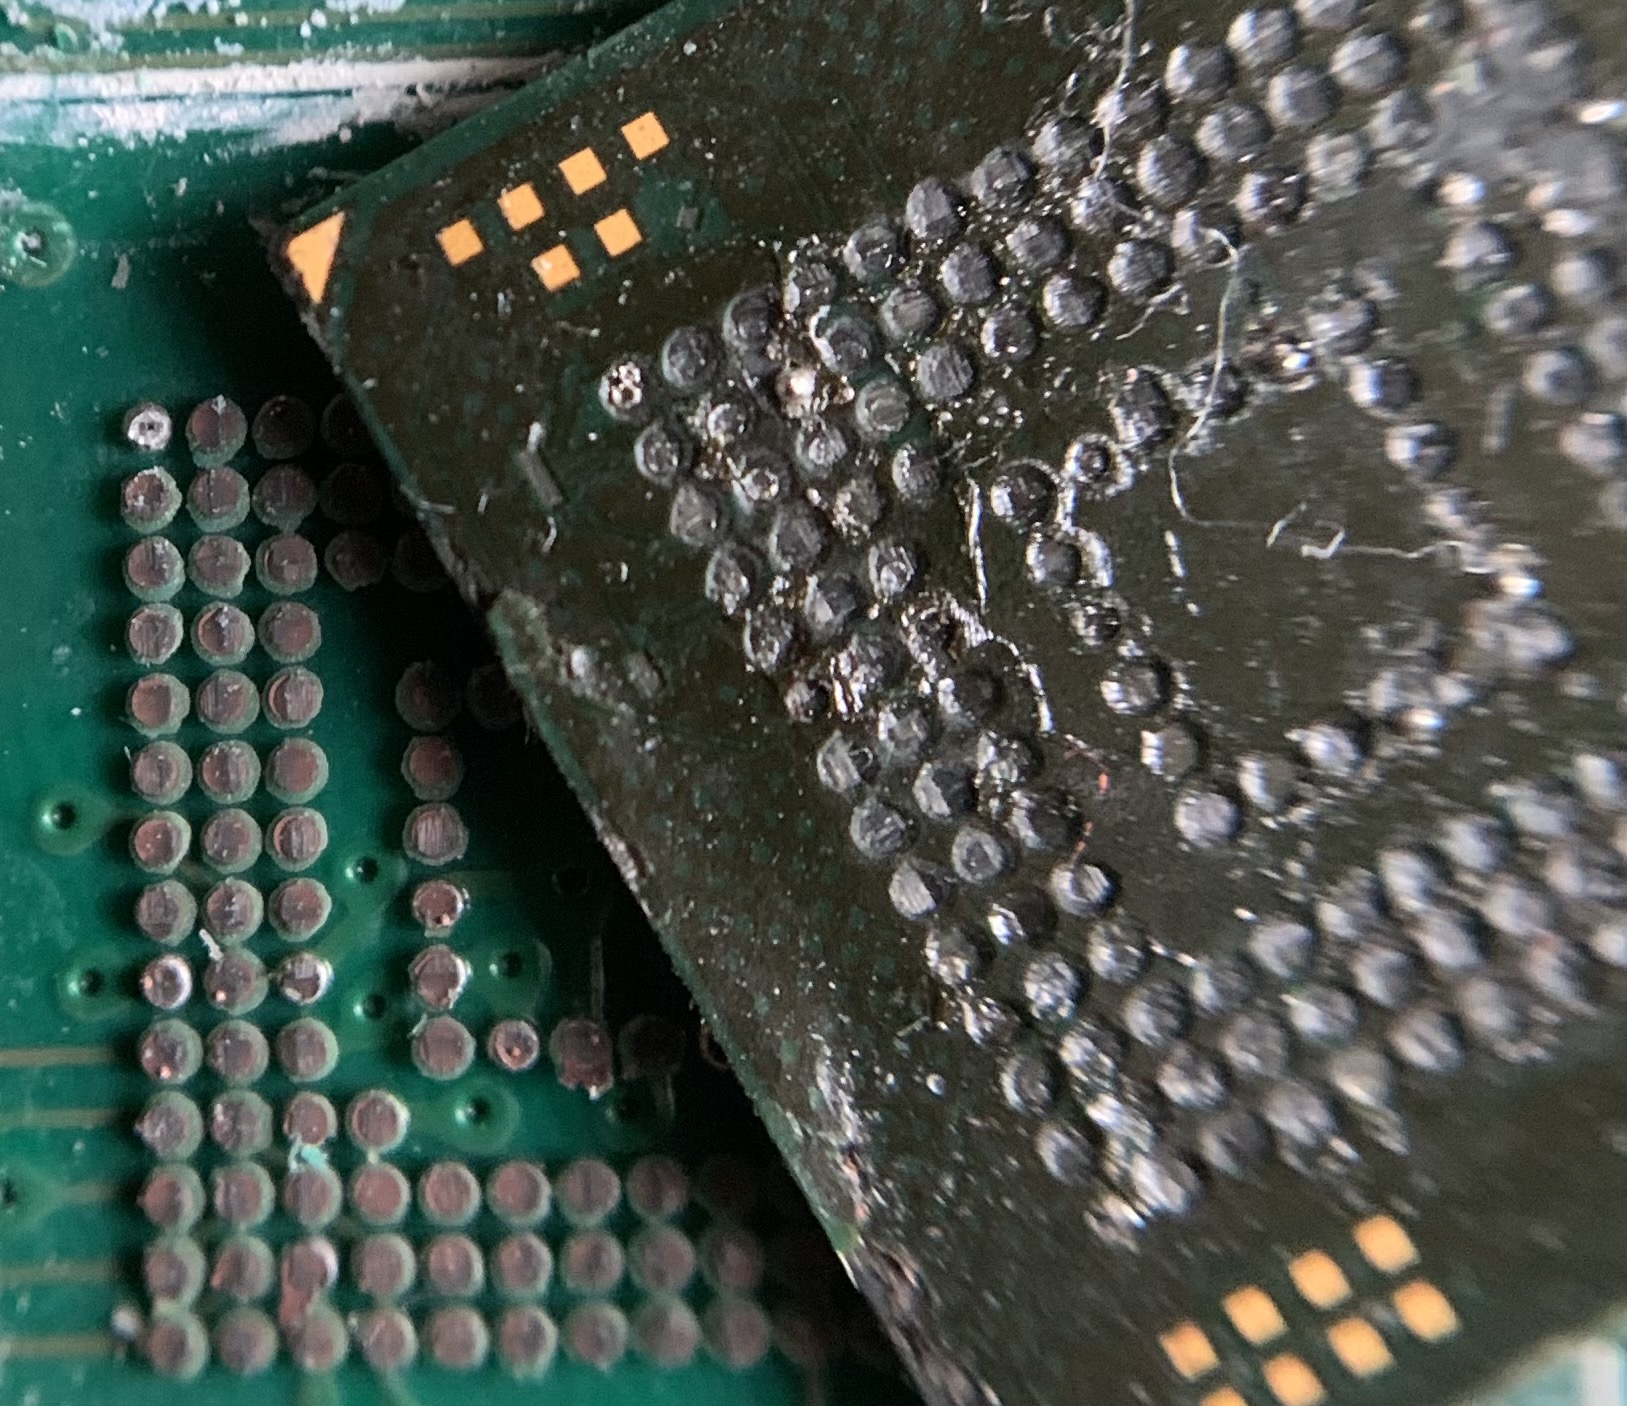
A few months back, I turned my attention on my fiber gateway. So I ordered the same model on ebay, unsoldered and dump the nand, and after a lot of work, managed to have a clear view of the system, from bootloader to userland.
Basically, the bootloader check the signature of the kernel image, uncrypt the kernel image with a bootloader stored key, which in turn, uncrypt the rootfs image and voila.
[YYYY] / # ls
README       dev          lib          opt          sbin         usr
bin          etc          media        proc         sys          var
config       exports      mnt          root         tftpboot
ctmp         home         nonexisting  run          tm
[YYYY] / # cat README
If you can read this, congratulations !

Feel free to drop me an email, xxxx@yyyy.zz
I managed to flash a custom rootfs (since only the kernel was signature checked)
So I contacted the vendor, and explained what I did.
They fixed the issue by adding a signature check on the rootfs, and told me that, even if "impressed", as this was an old model with no secure boot nor secure storage, it was easy (as in "yes we know we can not secure this").
And they were right, nothing would have prevented me from flashing my own bootloader with my own public key or signature bypass.
Still, I was happy.
Then, a challenge came to my mind: "what if I could break into their latest model?"
So back to ebay.
First glimpses
I tried to apply the same methodology with more or less success

But still, with more ebay purchases, I managed to get a dump.
Which was obviously encrypted. Even the bootloader... so, secure boot, as expected.
Serial Output
Probing unpopulated connector footprints on the pcb during boot did not lead to anything. But I finally managed to find the serial signal on one resistor.
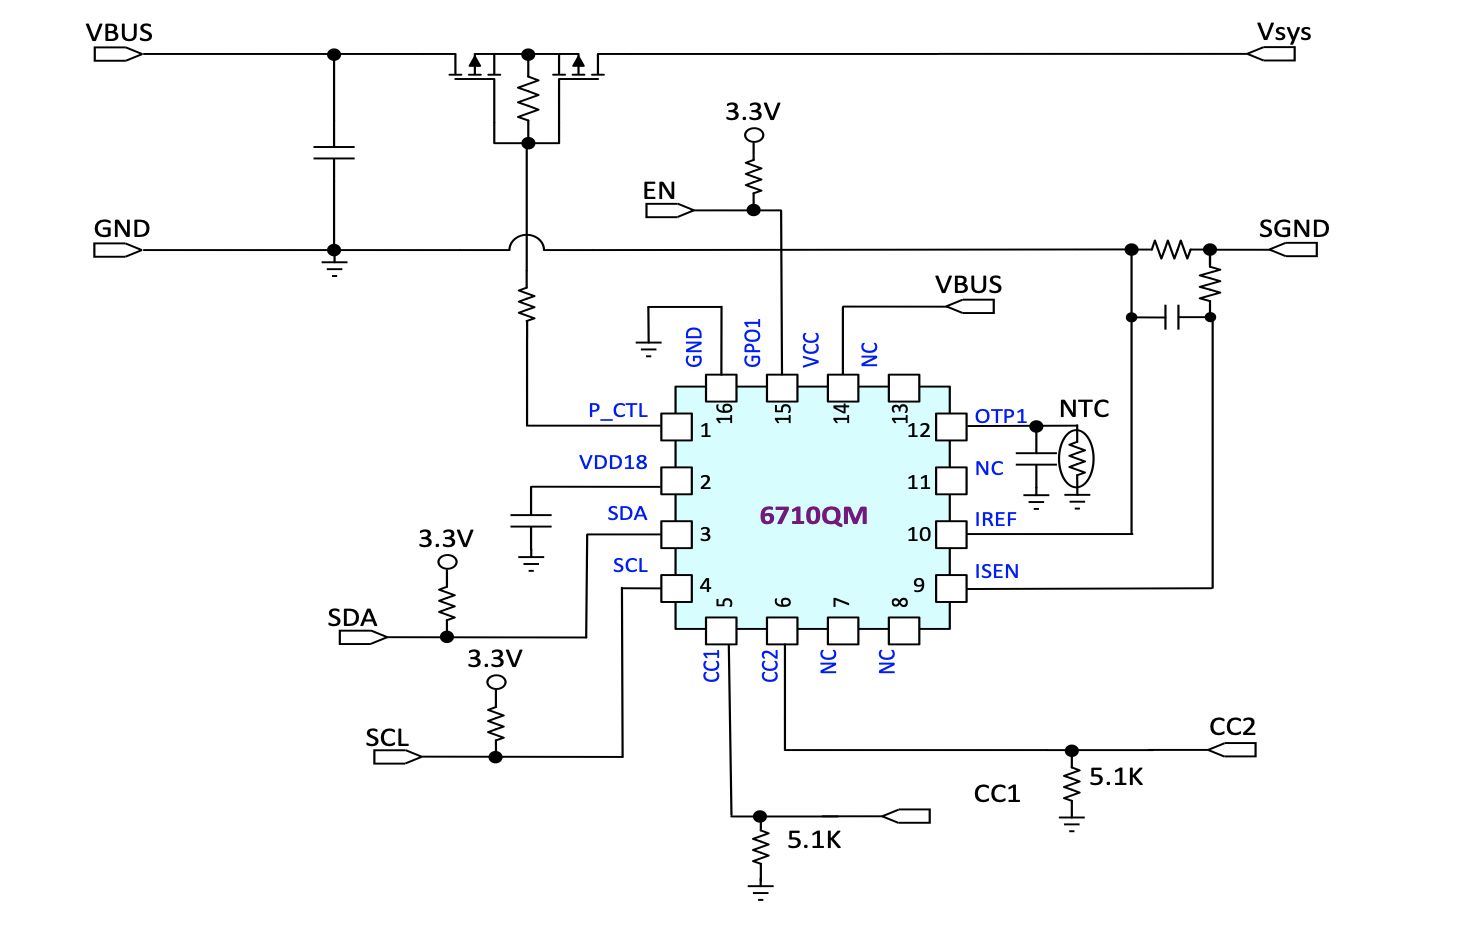
Following the tracks, it leads to the usb-c power connector, through some small IC. Adding a pull-up to the SBU pin of the usb-c connector and we have the bootlogs directly on the usb-c connector:
----
BTRM
V1.2
L1CD
MMUI
MMUA
DATA
ZBBS
MAIN
OTP?
REF?
REFP
RTF?
RTFP
OTPP
FSBT
EMMC
IMG?
IMGL
UHD?
UHDP
RLO?
RLOP
AHD?
ROT?
ROTA
MID?
MIDP
AHDP
SBI?
SBIA
PASS
HELO
5.0206-1.0.38-42.42
CPU0
L1CD
MMUI
MMUB
ZBBS
MAIN


xxx8a cfe decompressor (ROM).
DDR test done successfully
  - Decompressing ...
  - Decompression OK Load 1fc00000, Entry Point 1fc00000.

Base: 5.02_06
CFE version 1.0.38-163.180 for BCM963158 (64bit,SP,LE)
Build Date: Fri Dec  6 19:01:14 CET 2019 (xxxx@yyyy)
Copyright (C) 2000-2015 Broadcom Corporation.
XXX Version: 1.0


.text:   000000001fc00000-000000001fc2ea00
.rodata: 000000001fc2f000-000000001fd253f8
.data:   000000001fd26000-000000001fd26fc0
.bss:    000000001fd26fc0-000000001fd2c3f8
.stack:  000000001fd2e000-000000001fd6e000
.heap:   000000001fd6e000-000000001ff8e000

CPU Started with slow freq strap.
POR CPU frequency: 400 Mhz
CPU frequency set to 1675MHz
Boot Strap Register: 0x3fffff77
Chip ID: BCM63153_B1, Broadcom B53 Quad Core: 1675MHz
Total Memory: 536870912 bytes (512MB)
Enabling CCI500 coherency ... Done.
pmc_init:PMC using DQM mode
MMC: bus setup with width 8, sdr
SDHCI MMC init done.
i2c-gpio: using gpio24 (sda) gpio25 (scl).
i2c-gpio: using gpio15 (sda) gpio16 (scl).
fb0: SSD1320 frame buffer device (160x80 screen)

Serial: xxxx-xx-x-(xx)xx-xx-xxxxx / 0
Mac:    xx:xx:xx:xx:xx:xx
Bundle: xxxxxxxxxxxxxxxx

## Booting in standard mode.
 - Trying to load new bank0: no bank0 to flash, read fail
Loading firmware from 'emmc0:bank1': 31432192 bytes in 0.707 seconds.
ATF partition at offset 0000000011801000, size 11956
 - Validation stage 1.
 - Validation stage 2.
 - Kernel signature OK!
 - Decrypting kernel.
OP-TEE partition at offset 0000000011804000, size 129524
 - Validation stage 1.
 - Validation stage 2.
 - Kernel signature OK!
 - Decrypting kernel.
kernel partition at offset 0000000011824000, size 4574388
 - Validation stage 1.
 - Validation stage 2.
 - Kernel signature OK!
 - Decrypting kernel.
dtb partition at offset 0000000011c81000, size 21940
 - Validation stage 1.
 - Validation stage 2.
 - Kernel signature OK!
 - Decrypting kernel.
NOTICE:  BL31: v1.4(release):42d1e692
NOTICE:  BL31: Built : 18:19:32, Oct  2 2019
I/TC:
I/TC: OP-TEE version: 3.7.0-110-g6ba85038 (gcc version 8.3.0 )
                       #1 Tue Jan 28 13:57:39 UTC 2020 aarch64
I/TC: rng200_rng_init ...
I/TC: RNG200 init done.
I/TC: Initialized
ATF returned in EL2.
E/LD:  init_elf:259 sys_open_ta_bin(7011a688-ddde-4053-a5a9-
7b3c4ddf13b8)
E/TC:? 0 init_with_ldelf:229 ldelf failed with res: 0xffff000e
E/TC:? 0 tee_ta_open_session:727 Failed. Return error 0xffff000e
Arm Trusted Firmware, Op-tee, all signed and encrypted...
Test mode
During my work on the previous model, I found that by shorting two pins of one connector on the pcb, the board booted in a so-called test-mode. This mode, after a custom network authentication, allow to boot on a network loaded firmware image without signature check.
So I needed to do two things:
- Trigger the test mode on the new model
- Do the network authentication
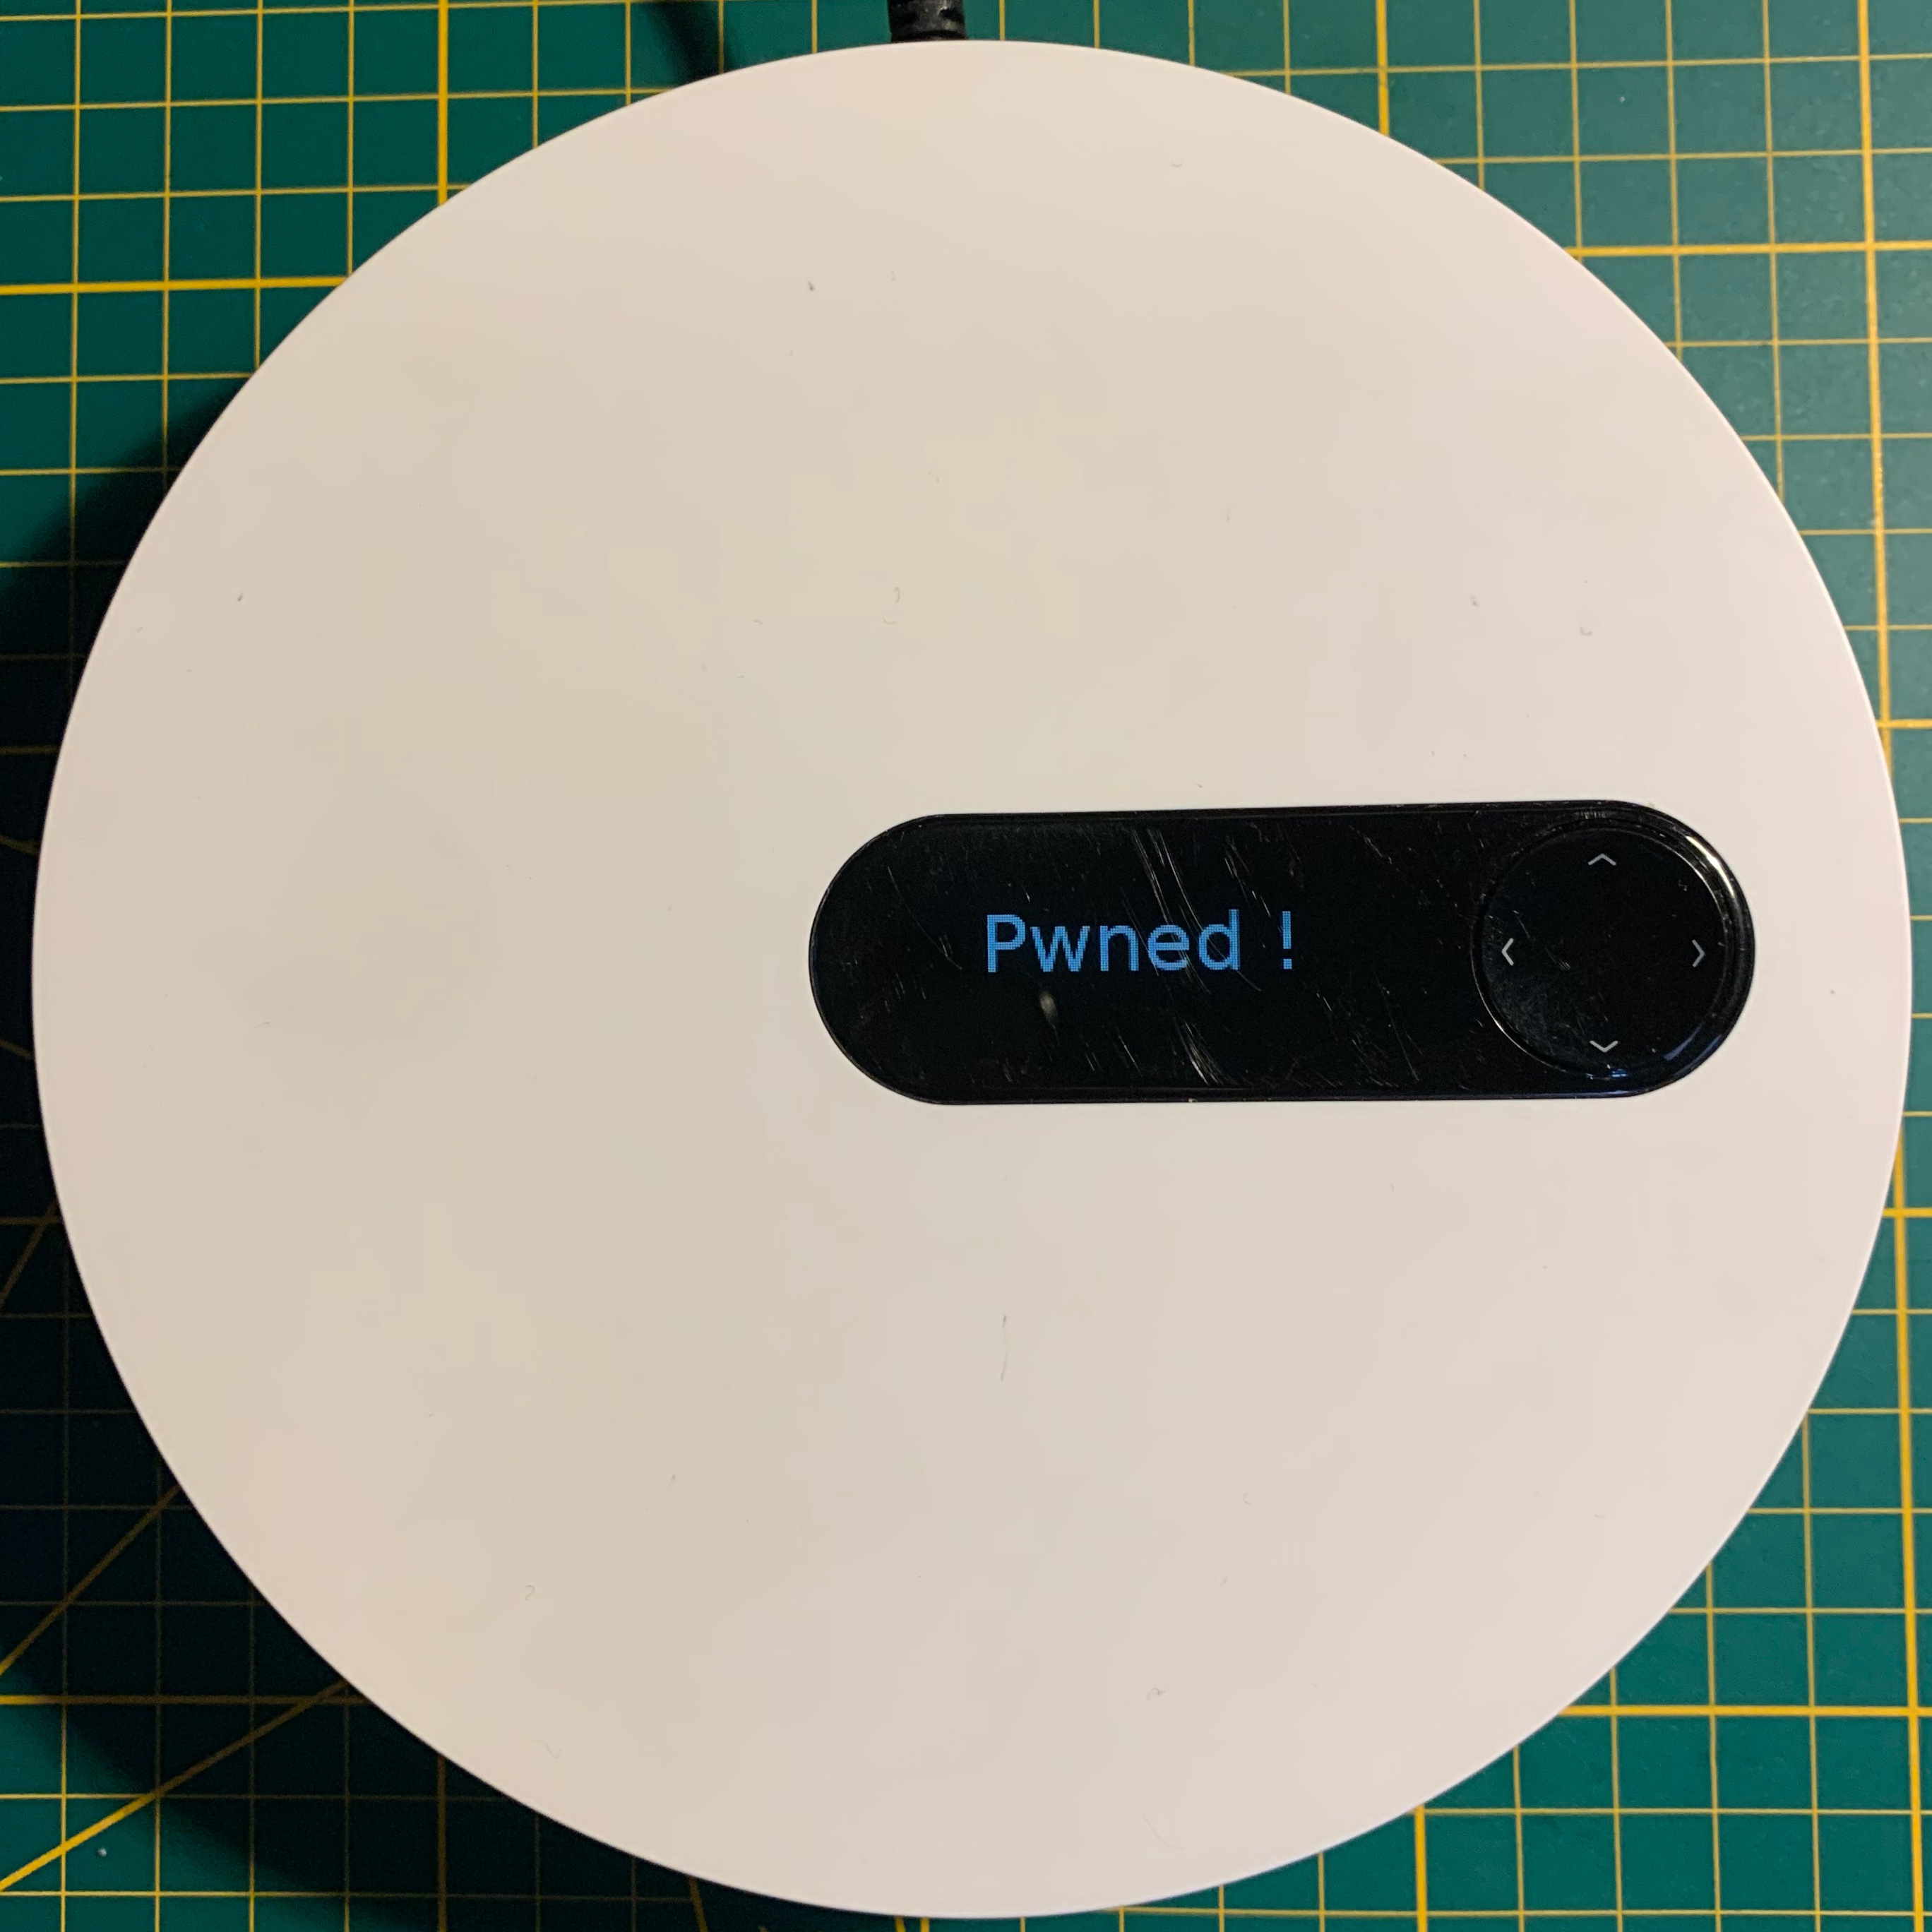
To ease the process, first, let's get root on the device (sorry, won't cover that part, I know it's an achievement in its own, but I am focused on breaking secure boot, and yes, it would be sufficient to display the Pwned message on the screen of the device...but we are not here just for the lulz).
We can find some interesting things in /sys/class
[YYYY] / # ls /sys/class/xxxgpio/boot-eth
data_in    data_out   device     direction  pin_num    subsystem  uevent
boot-eth ? Sounds good !
[YYYY] / # while true; do
> cat /sys/class/xxxgpio/boot-eth/data_in
> sleep 0.1
> done
0
0
0
And then start poking arround all test points until we can see a 1 showing up.
I am focusing around the usb-c connector (just a feeling) and all the glue.
And it's a match.
Well, sort of. It seems that when injecting 3.3v on one test point, the gpio value alterns between 0 and 1. But injecting the 3.3v at the right time on boot get us a straight 1.
I got the feeling that "boot-eth" can be triggered by an appropriate usb-pd command/response, the test point coming from a gpio output of the usb-pd chip

I decided to cope with that, and not searching more. Since I can easily trigger test mode with this cursed method.
Test mode authentication
Here again, I got helped by my work on the previous model. Basically, in test mode, the board send an udp packet with a once, that has to be hashed with a per device specific key and sent back. This way, the board ensure it is on a vendor's developper owned network.
The key is derivated from a primary key. To sum up, each device owns a primary key, and can derivate key0, key1 roughly by calculating
rc4(md5(key_index + primary_key))
Each key index serves a specific purpose, and for test mode we need key1
On the previous model, primary_key was stored in the nand (aside with the mac address and other per-device stuff). But on this device, we do not have unciphered access to it.
But as we are root, and the device needs to be able to get a key index for it's own purpose, unless all encryption is done in the secure world.
But we are lucky:
[YYYY] /root # xxxkeys
usage: xxxkeys [OPTS] <key_idx> <key_len>
Where OPTS is one of:
   -b      base64 output
   -h      hexadecimal ouput (default)
   -n      fail when lock
[YYYY] /root # xxxkeys 1 16
ab553c48d5ade7426929c4c5b7f03aa
With that key, we are able to authenticate our network for the device to boot in test mode.
A note on firmware images
The firmware image format is roughtly the same as the previous model, so I reused the scripts I wrote:
xilokar@xilokar:~$ Tools/parse_tag.py -i image-xxxxx8r_bank1_4.2.9
crc:     ce46779a
magic:   3658382b
version: 00000002
len:     01e28000
tag version <xxxxx8r_bank1_4.2.9>
Build the 2021-02-08 18:38:30 by yyy@zzzzzzz
5 partitions present

partition 0
     crc:    0cf4403a
     offset: 00001000
     size:   00002eb4 (end=00003eb4)
     type:   00000002
     flags:  00000005
             skrypted
             xz
     name:   <part_00>
Computed crc: 0cf4403a

partition 1
     crc:    349f1619
     offset: 00004000
     size:   0001f9f4 (end=000239f4)
     type:   00000004
     flags:  00000005
             skrypted
             xz
     name:   <part_01>
Computed crc: 349f1619

partition 2
     crc:    64bde3c9
     offset: 00024000
     size:   0045cf94 (end=00480f94)
     type:   00000000
     flags:  00000005
             skrypted
             xz
     name:   <bcm63xx-kernel>
Computed crc: 64bde3c9

partition 3
     crc:    3bea7801
     offset: 00481000
     size:   000055b4 (end=004865b4)
     type:   00000003
     flags:  00000001
             skrypted
     name:   <bcm63xx-dtb>
Computed crc: 3bea7801

partition 4
     crc:    d7c8c9d2
     offset: 00487000
     size:   019a1000 (end=01e28000)
     type:   00000001
     flags:  00000001
             loaded in ram
     name:   <rootfs>
Computed crc: d7c8c9d2
Tag md5: cc6b4289d689c0b713e8afe7825022b8
It consist of a bunch of binary encapsulated, each with a type and flags.
- xz means the partition is compressed
- skrypted means the partition is encrypted and signed
Bootloader dump
Actually, I did that before venturing into test mode, but it does not matter.
Reuse the same approach as for my attack on the brcm61650 with a kernel module dumping the right memory space ( we have .text, .rodata addresses in the bootlog)
With the dump in hand, let's look at how the firmware is loaded.
ulonglong probably_load_partition
(partition_info *param_1,char *name,char load_mode,
void *suggested_load_addr, int param_5)
{
ulonglong uVar1;
ulonglong uVar2;
memmap_entry *pmVar3;
uchar *local_18;
ulonglong local_10;
undefined8 local_8;
print("s_%s_partition_at_offset_, _size_%" ,name,
param_1->addr,param_1->len);
if (load_mode == '\0') {
if ((*(uint *)¶m_1->flags & 1) == 0) goto LAB_1fc06ec4;
}
else {
if ((*(uint *)¶m_1->flags & 1) == 0) {
print("%s_partition_must_be_skrypted",name);
maybe_update_load_status(0xf4);
return 0xffffffff;
}
}
...
And with
uVar3 = probably_load_partition(&atf_part,"ATF",1,&LAB_10000000,0);
iVar1 = (int)uVar3;
if (iVar1 == 0) {
  ATF_pointer = atf_part.addr;
 uVar3 = probably_load_partition(&optee_part,"OP-TEE",
                                 1,(void *)0x10800000,0);
iVar1 = (int)uVar3;
if (iVar1 == 0) {
  uVar3 = probably_load_partition, (&kernel_part,
                                  "kernel",mode != 2,
                                   (void *)0x80000,1);
  iVar1 = (int)uVar3;
  if (iVar1 == 0) {
    uVar3 = probably_load_partition,(&dtb_part,"dtb",
                                     mode != 2,
                                     (void *)0x1fb70000,1);
    iVar1 = (int)uVar3;
We see that even though, in test mode, kernel (and dtb) do not need to be skrypted, ATF and OP-TEE must be.
Let's look at how an image is "unskrypted"
ulonglong unskrypt_image(void *in,ulonglong in_len,void *out,
ulonglong *out_len,int type)
{
int iVar1;
uint cipher_index;
ulonglong uVar2;
ulonglong uVar3;
undefined *key;
int local_24bc;
char hash_sha256 [32];
undefined session_key [32];
rsa_key public_key;
undefined auStack9264 [272];
skrypt_header local_2320;
uint cbc_ctx [2162];
memcpy(<m_desc,&PTR_s_LibTomMath_1fd1f800,0x198);
crypt_register_cipher(&PTR_s_aes_1fd1f558);
crypt_register_hash(&PTR_s_sha256_1fd1f658);
memcpy(&local_2320,in,0x154);
iVar1 = again_swap_bytes((ulonglong)local_2320.magic);
if (iVar1 != 0x534b5259) {
print("bad_magic");
return 0xffffffff;
}
iVar1 = again_swap_bytes((ulonglong)local_2320.version);
if (iVar1 != 3) {
print("bad_version.");
return 0xffffffff;
}
if (3 < local_2320.key_index) {
print("%i:_key_number_too_big",(ulonglong)local_2320.key_index);
return 0xffffffff;
/* ...*/
iVar1 = get_public_key(local_2320.key_index,&public_key,type);
if (iVar1 < 0) {
print("unable_to_get_public_key_!");
return 0xffffffff;
}
if (support_decrypt_kernel == '\0') {
print("-_Validation_stage_1?";
}
else {
if (type == 0) {
key = (&PTR_aes_key_0_0_1fd27028)[local_2320.key_index];
}
else {
key = (&PTR_aes_key_1_0_1fd27048)[local_2320.key_index];
}
Sooo, we might have a pointer to the aes key !
Unfortunatley, there is this funtion:
void * probably_clear_sensitive_data(void)

{
  longlong lVar1;
  void *pvVar2;
  undefined **ppuVar3;
  undefined **ppuVar4;
  int iVar5;

  if (support_decrypt_kernel != '\0') {
   iVar5 = 4;
   ppuVar3 = &PTR_aes_key_1_0_1fd27048;
   ppuVar4 = &PTR_aes_key_0_0_1fd27028;
   do {
     zeromem(*ppuVar4,0x20);
     maybe_dma_sync(*ppuVar4,0x20,0);
     zeromem(*ppuVar3,0x20);
     maybe_dma_sync(*ppuVar3,0x20,0);
     iVar5 = iVar5 + -1;
     ppuVar3 = ppuVar3 + 1;
     ppuVar4 = ppuVar4 + 1;
   } while (iVar5 != 0);
  }
  lVar1 = probably_get_board_serial_info();
  zeromem(lVar1 + 0x26,0x20);
  pvVar2 = (void *)maybe_dma_sync(lVar1 + 0x26,0x20,0);
  return pvVar2;
}
that is called just before passing the hand to ATF:
pvVar4 = probably_clear_sensitive_data();
probably_run_atf(pvVar4,(ulonglong)info);
uVar3 = cRead_8(currentel);
print("ATF_returned_in_EL%d",uVar3 >> 2 & 3);
uVar3 = cRead_8(currentel);
if (((uint)(uVar3 >> 2) & 3) == 3) {
  panic("Secure_OS_left_at_EL3!");
}
So, no chance to grab the aes key used to decrypt the firmware from the post-boot memory dump.
By looking further (too much code to dump here, so no screenshot) we can see that the firmware aes key are loaded from an encrypted partition. The partition is encrypted with a per-device key, accessible only when in EL3.
Good luck...
Back to test mode
Let's look at what we can do in test mode.
ATF and OP-TEE must be skrypted.
So focus on kernel (or dtb).
The xz flags is quite interesting. If not set, the partition is copied to the default location. but the xz flags loads an header with a target load destination.
With that in mind, maybe we could try to over-load the ATF (which is run at EL3) with our own code?
Nice try, but each loaded partition fills an memory_map entry, and no overwrite is allowed. (kudo to the developpers)
[00010000-0001ffff pmc.boot]
[00080000-00d0a807 kernel]
[10000000-10007027 ATF]
[10800000-108543af OP-TEE]
[11800000-11db4fff imagetag]
[1fb80000-1fbfffff cfe.mmu]
[1fc00000-1fffffff cfe]
I found a glitch in the loading code that would have allow to overwrite some code by wrapping the address, but found it unexploitable (data abort)
Exception Class: Data Abort From Current EL
Fault address: <ffffffffffffffff>
Fault status: Translation fault, level 0
At that point, I was about to give up.
But...
Remember, the ATF partition muste be skrypted. So it's signature is checked, and then it is decrypted.
Let's look a bit further. Here is the format of the skrypted partition:
struct {
   unsigned int magic; // "SKRY"
   unsigned int version;
   unsigned int data_offset;
   unsigned int data_len;
   unsigned int key_index;
   unsigned char signature[256];
   unsigned char iv[32];
   unsigned char session_key_crypted[32];
};
And at the code that handle deciphering:
print("Kernel_signature_OK");
if (support_decrypt_kernel == 0) {
  iVar1 = xmemcmp((char *)skr_header.iv,&zero__1fd27068,0x20);
  if ((iVar1 != 0) ||
     (iVar1 = xmemcmp((char *)skr_header.session_key_crypted
                      ,&zero__1fd27068,0x20),
      iVar1 != 0)) {
     print("kernel seems encrypted, which is unsupported");
     return 0xffffffff;
  }
} else {
  iVar1 = xmemcmp((char *)skr_header.iv,&zero__1fd27068,0x20);
  if ((iVar1 != 0) ||
      (iVar1 = xmemcmp((char *)skr_header.session_key_crypted,
                       &zero__1fd27068,0x20),
       iVar1 != 0)) {
       print(" - Decrypting_kernel");
       cipher_index = crypt_find_cipher(s_aes_1fc2f862);
       cbc_start(cipher_index,skr_header.iv,
                 session_key,0x20,0,cbc_ctx);
       if (cipher_index != 0) {
         print("unable_to_setup_aes_cbc");
         return 0xffffffff;
       }
       iVar1 = decrypt_aes_cbc(in,out,uVar3,cbc_ctx);
       if (iVar1 != 0) {
         print("unable_to_decipher_kernel");
         return 0xffffffff;
       }
  }
}
memcpy(out,in,cipher_index);
*out_len = uVar3;
return uVar2 & 0xffffffff;
See ? To decide if it will decrypt the partition with the session_key, the unskrypt function check if the iv and the encrypted_session_key are not full of zero.
So, instead of the unskrypted ATF binary, we can inject the ciphered ATF binary. Of course, we can not modify this image. But fuck hell, maybe with luck, the ciphered binary are valid aarch64 instruction that could help us ?
So let's grab all the signed ATF partition we can find and objdump the ciphered payload.
...
and
...
yes !
$ ./Tools/parse_skrypt.py ---dump atf.bin
magic:   534b5259
version: 00000003
offset:  00000154
len:     00002d60
key_id:  00000000
iv:  b'20c4f...a83c56c9492063d761bf17108d'
encrypted_session_key:  b'd1be...3aa0a87f1a1f'
Dumping to <atf.bin.ciphered>

$ objdump -D -b binary -m aarch64 atf.bin.ciphered
atf.bin.ciphered:     file format binary

Disassembly of section .data:

0000000000000000 <.data>:
0:       301752cf        adr     x15, 0x2ea59
4:       d07e50fe        adrp    x30, 0xfca1e000
8:       b530904a        cbnz    x10, 0x61210
One of the ciphered ATF partition decodes as three valid instructions, with the third one being a jump to an non-reserved memory_maped region (as the atf is loaded at 0x10000000 and the jump is relative, it gives us 0x10061210, between ATF and OP-TEE) ! (Luckily, x10 is not zero at that point of the code).
And if we omit the xz flag, the ciphered data will be copied as-is to the default ATF memmap.
So now, let's roll.
build a "kernel" image that we xz at the jump location, pack it with a skrypted ATF image, with iv and key set to 000...00, and boom, we have code execution at EL3.
We then just need to rejump to the code that handle partition decryption, and we can dump the shared firmware aes key...
void (*bl_printf)(char *str, ...) = (void *)0x1fc2d7f4;
void hexdump(char *prefix, void *p, int len) {
     unsigned char *c = p;
     int i,j;
     for(i=0; i< len; i+=16) {
             bl_printf("DUMP_%s_: %16x: ", prefix, c + i);
             for(j=0; j<16 && j+i<len; j++) {
                     bl_printf("%02x ", c[i+j]);
             }
             bl_printf("\n");

     }
}

void (*load_bootinfo)(void) = (void*)0x1fc0e768;
void dump_keys(void) {
     load_bootinfo();
     hexdump("AES_0", (void*)0x1fd2be70, 32);
     hexdump("AES_1", (void*)0x1fd2bdf0, 32);
};
ENTRY(_Reset)
SECTIONS
{
     . = 0x10061210;
     .startup . : { startup64.o(.text) }
     .text : { *(.text) }
     .data : { *(.data) }
     .bss : { *(.bss COMMON) }
     . = ALIGN(8);
     . = . + 0x10000;
     stack_top = .;
}
DUMP_AES_0: 000000001fd2be70: a1 ... 33
DUMP_AES_1: 000000001fd2bdf0: d8 ... c4
(obviously, I won't disclose)
Bypassing rootfs signature
Just a quick note on that.
To bypass the rootfs signature included in the new kernel released, just load a previous (signed) kernel (that do not check rootfs signature, just decrypt it) and then load a specially crafted module that mimic kexec on the new (modified) kernel on the crafted rootfs.
Conclusion
Custom firmware on a "secure boot" device.
The bootloader in itself is also signed/ciphered with an OTP key that is set unreadable before the ROM execute the bootloader. An hardware fault injection attack would probably be necessary to bypass that, but that's beyond my capabilities (atm).
The vendor has been contacted and fixed the bootloader.